
Preparation Makes a Big Difference!
Our on-site photo appointments allow for about one hour. The photographer will shoot the home in its present condition, perhaps straightening a few chairs and pillows, moving a trash basket, etc. So it’s important that the house be “photo-ready” at the scheduled time.
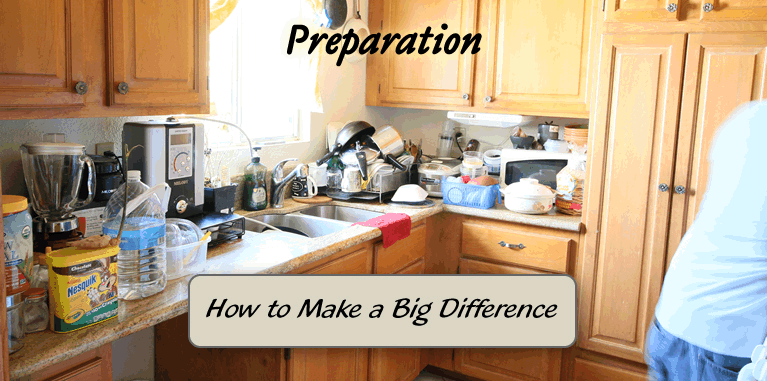
If the house is still occupied, then clutter can cause undesirable results in some of the shots. If clutter needs to be moved from one room into another, and back again, then the agent and a helper or two may be required to do the job quickly. In the before-after photo above, the agent and the owner moved all the tenant’s items on the counters into the dining room so the kitchen could be shot. Then, it all had to come back before shooting the dining room. If clutter is an issue, the best solution is to move it all into garage before the appointment.
The home will have much nicer curb appeal if there are no vehicles parked in the driveway or in front of the house (which is not always possible on public streets). Also, removing garden hoses, toys, debris, and making sure the grass is cut, will help the home to look its best.
And now some important words about lighting. Everyone wants to live in a home with a bright interior, or so it would seem. Sometimes window coverings block out much of the natural lighting. Low-wattage light bulbs save money, but when it comes time to sell the home, they only help the buyers to save money. Although camera settings, lighting equipment, and Photoshop tricks can brighten things up, photo quality will always be better if we’re not shooting in the dark. Prior to the photo shoot appointment, make sure that blinds and other window coverings can be opened; move any tall furniture that blocks windows or sliding doors; and tell the owner to put in the brightest light bulbs possible.